
This Airport Guide describes the arrival experience for domestic passengers landing at Ninoy Aquino International Airport’s Terminal 3.
Post last updated from first-hand experience : 01 October 2022 (based on a 12 September 2022 arrival)
Post last updated using other information : 01 October 2022
NOTE: This Airport Guide should only be used for general planning and reference purposes. Details may change at any moment and without prior notice.
In this post, we’ll explore the domestic arrivals process at Terminal 3 (T3) of Ninoy Aquino International Airport (common abbreviation: “NAIA” / IATA code: MNL) – the main airport serving Greater Manila in the Philippines.
If you’re departing from Terminal 3, please navigate to the separate Airport Guides I’ve written covering departures landside (before outbound security screening) and departures airside (after outbound security screening).
For a broader overview of Terminal 3, please click here to navigate back up to my portal post about the entire facility.
To learn more about the airport as a whole, please click here to view my comprehensive guide to MNL.
CONTENTS
- Step 1: Enjoy the view as you land
- Step 2: Disembark from the plane
- Step 3: Proceed to baggage reclaim
- Step 4: Leave the terminal
- Appendix: Pandemic-related measures
STEP 1: ENJOY THE VIEW AS YOU LAND
STEP 2: DISEMBARK FROM THE PLANE
If your plane is connected to an aerobridge, you’ll simply walk through the metal tube and straight into the arrivals concourse on Level 2.
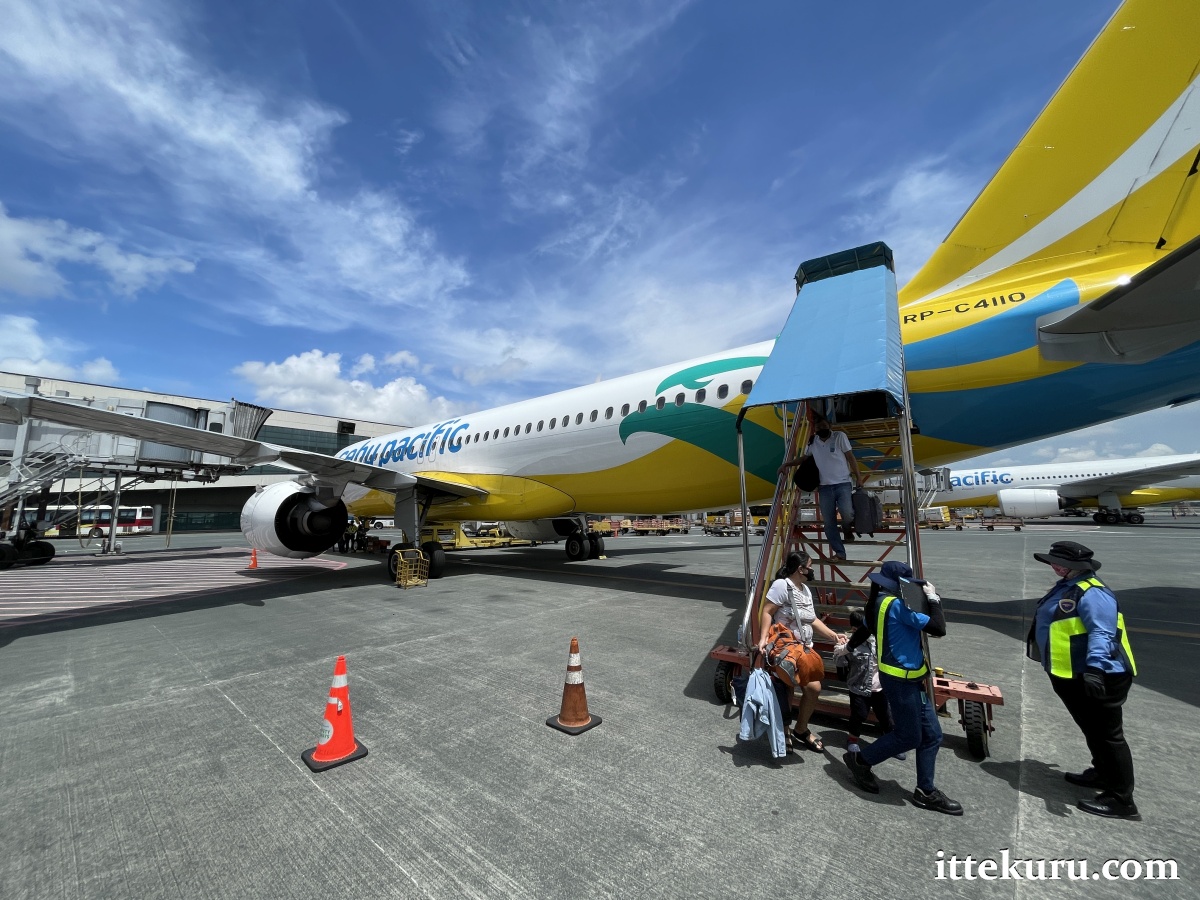
However, if you’re flying with a budget carrier, you may be asked to leave the aircraft by way of mobile stairs leading down onto the apron. This remains a possibility even at gates fitted with aerobridges, as in the image shown below. (Read this to learn why.) If the plane is parked next to the terminal, you’ll walk across the apron into the building; if it’s docked at a remote stand, you’ll be herded onto a bus which will cover the distance.

Whether arriving on foot or by bus, you’ll enter the terminal through a ground-level door and ride an escalator (or take the stairs) up to the arrivals concourse.
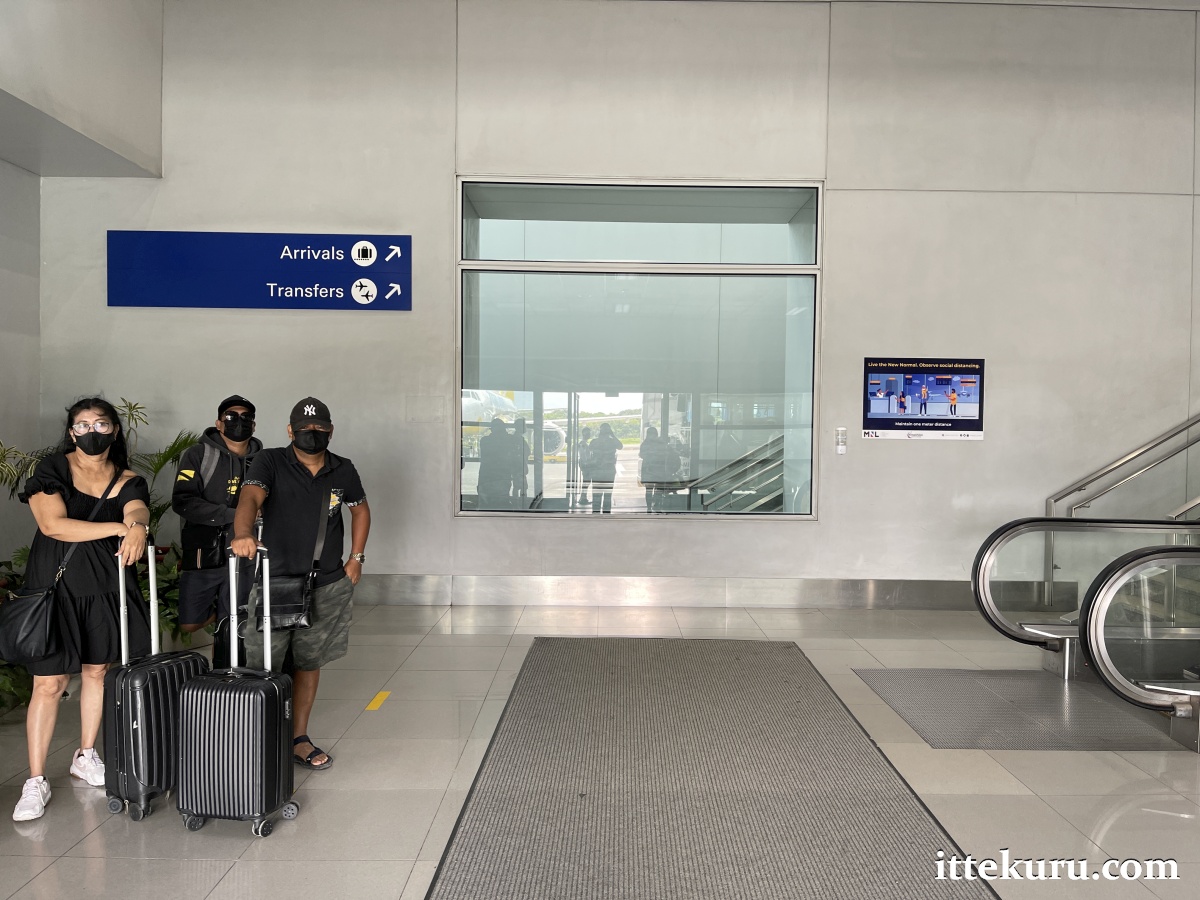

Follow the signs saying “Arrivals” and “Transfers”. If you’re coming from a distant gate or just want an easier slog, you can use the moving walkway that traverses part of the long corridor.

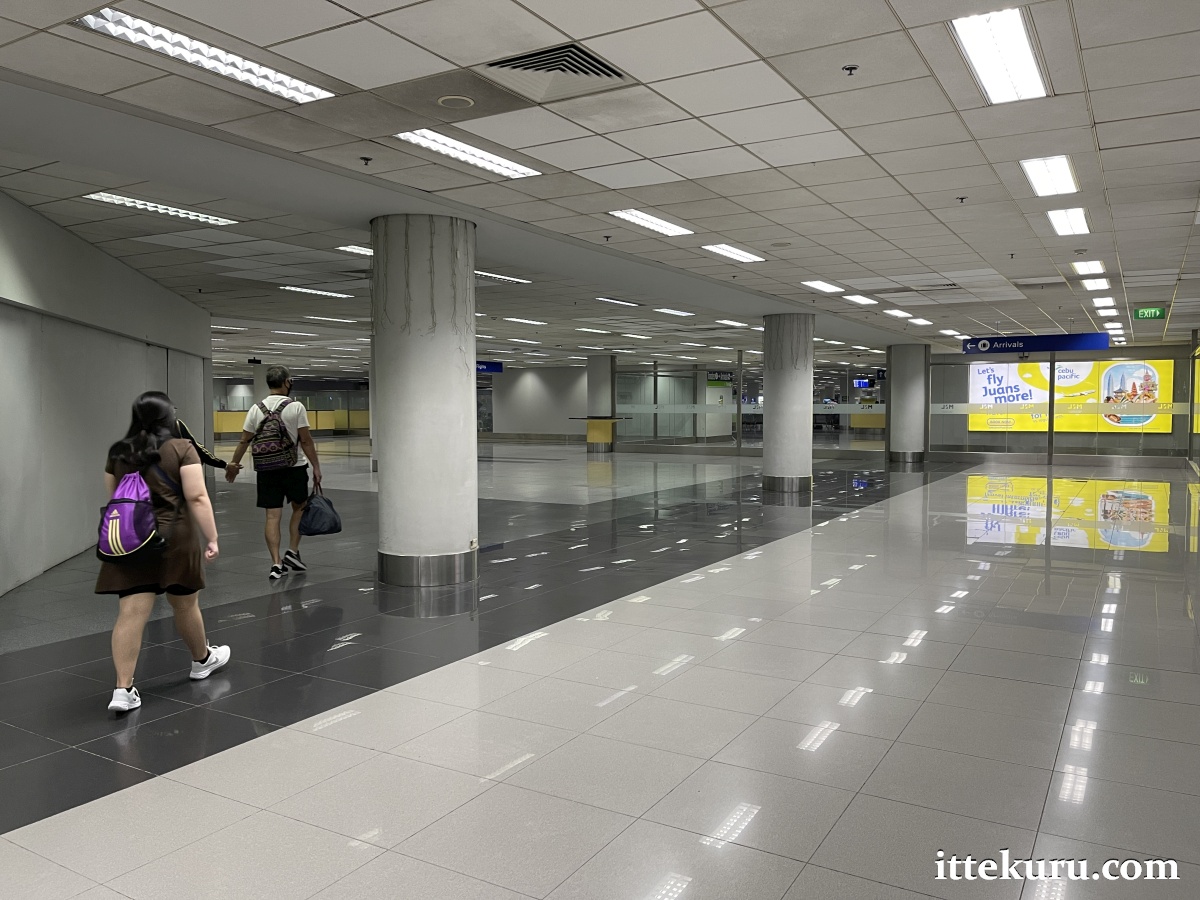
Since you’ve arrived on a domestic flight, you won’t need to undergo any quarantine or border control formalities. Just walk straight through the unused immigration counters and proceed directly to baggage reclaim.

These empty desks are a reminder that T3 was originally designed to handle international flights only. The decision to split it into international and domestic halves was taken shortly before its partial opening in 2008 – a supposedly “temporary” arrangement that has persisted to the present day.
STEP 3: PROCEED TO BAGGAGE RECLAIM
From the arrivals concourse, take an escalator down to T3’s cavernous baggage hall.
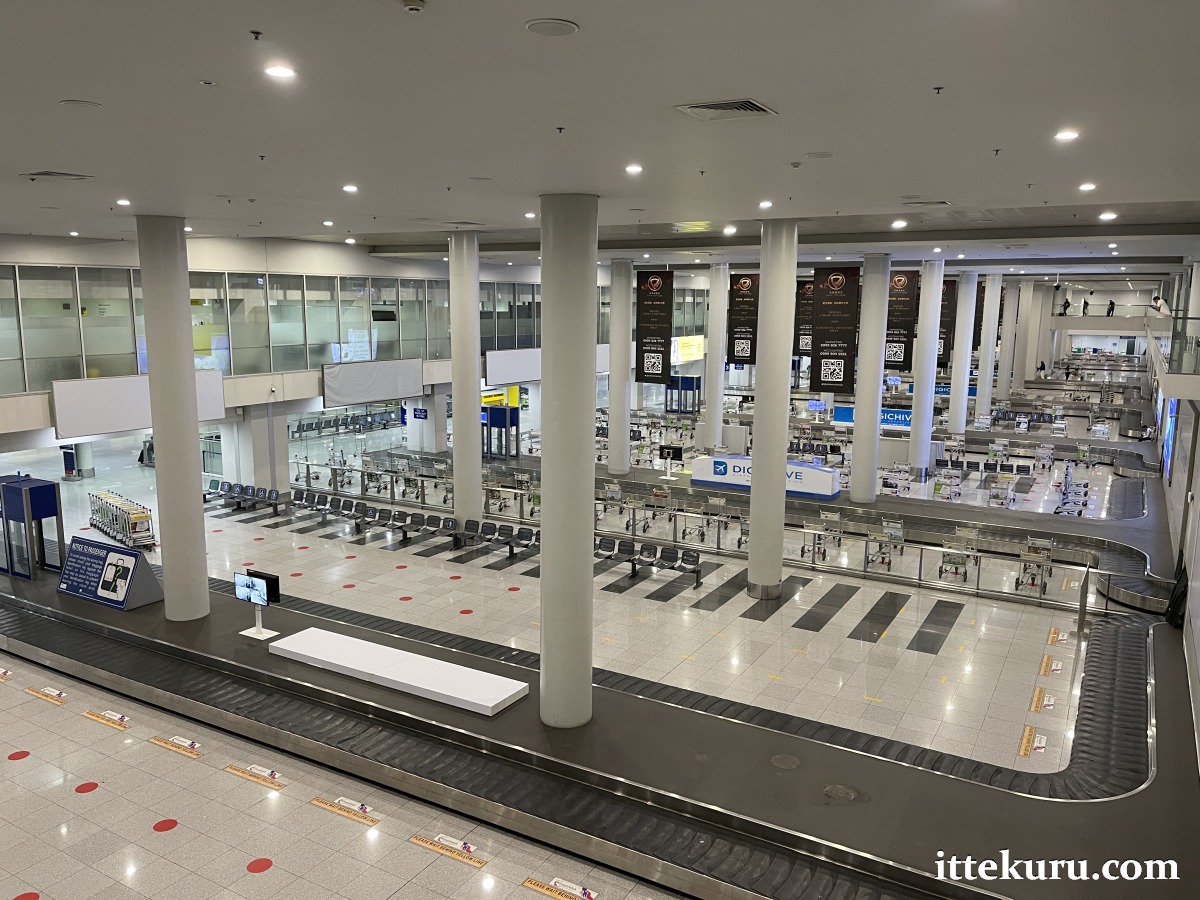

You may find – as I have in the past – that your flight’s assigned baggage carousel isn’t displayed on the screens in the baggage hall. Enquire directly with the airport staff if this happens and they’ll point you to the correct one.
As a domestic passenger, you won’t undergo any customs formalities after collecting your luggage.
STEP 4: LEAVE THE TERMINAL
A short walk from baggage reclaim takes you into T3’s arrivals hall. Open to non-passengers, this area is usually one of the most heavily crowded in the entire terminal.
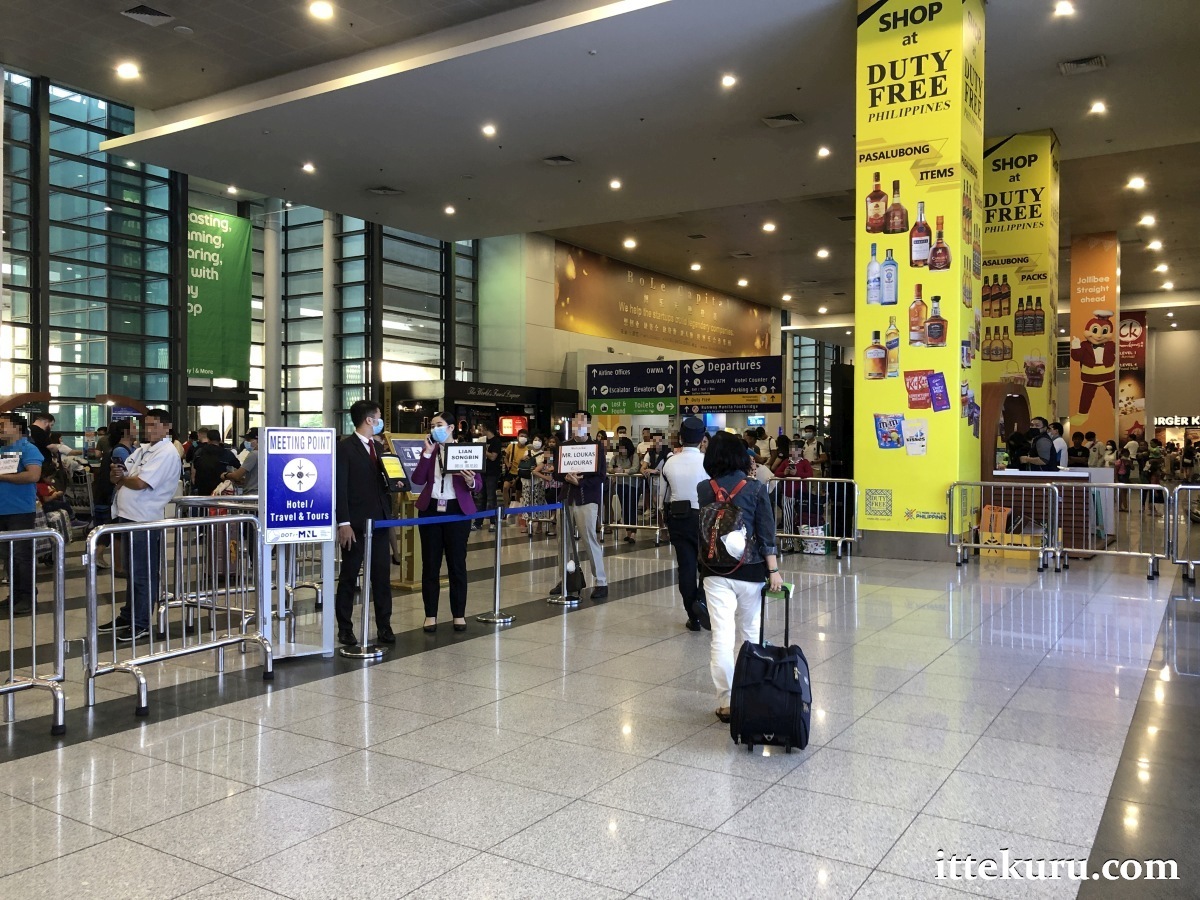
Unless you’ve arranged to meet someone in this hall, you’ll want to plough through the masses and walk straight out onto the pavement.
As seen in the following image, the pavement running alongside T3’s arrivals access road is divided into numbered “bays”. If you’ve asked someone to collect you from the terminal, I’d advise agreeing on a specific bay number to make it easier for them to locate you.

This is also where you can find and arrange road transport to your next destination. Private vehicles – as well as cars summoned via ride-hailing apps – normally use the road closer to the building whilst public transport flows through the parallel road opposite, stopping along the centre island.
Bear in mind that the locations of specific queueing points and taxi ranks do change from time to time. When enquiring with airport personnel as to the whereabouts of this or that service, do so with caution as this could attract the interest of unauthorised touts within earshot (or staff surreptitiously working with them). My preferred method is to ignore all offers of assistance and walk with purpose along the pavement as if I knew precisely where I needed to go, whilst discreetly scanning the scene until I identify the taxi rank or queueing point – or the appropriate signage – for the service I require.
The road-based options for travelling onwards from MNL T3 to other parts of Greater Manila (and beyond) are outlined in my separate airport transportation guide.
APPENDIX: PANDEMIC-RELATED MEASURES
In 2023, the Philippine government scrapped its last remaining pandemic-era emergency directives. Public transport operates at full capacity and disease-control protocols – including mask wearing and social distancing – are no longer enforced.
Be aware that some establishments (such as healthcare facilities) might impose stricter requirements within their own premises and ask visitors to put on a mask before entering.
Like what you’re reading? Buy me a coffee!


3 thoughts on “Airport Guide: NAIA (MNL) Terminal 3, Domestic Arrivals”